How to Import an Eclipse Project
If you have an existing Eclipse project in the form of a zip file (as you will get with some of the homeworks) here are some instructions for importing it into Eclipse.
- Make sure you have installed both the JDK and Eclipse.
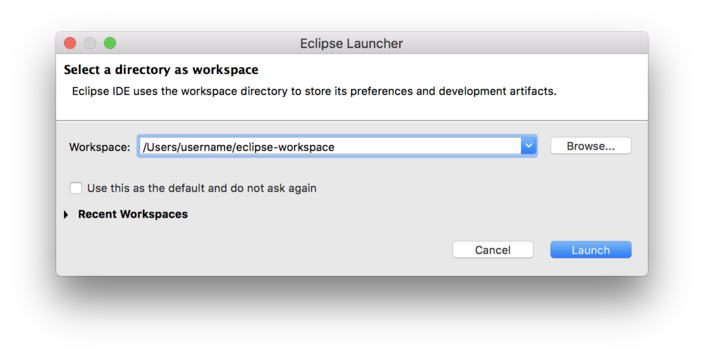
- Run Eclipse. When you see a window like the following, click “Launch”
- The welcome screen will appear.
 Close this screen by clicking the small “x” near the word “Welcome” in the upper left-hand corner.
 - Next, the main eclipse screen will appear.
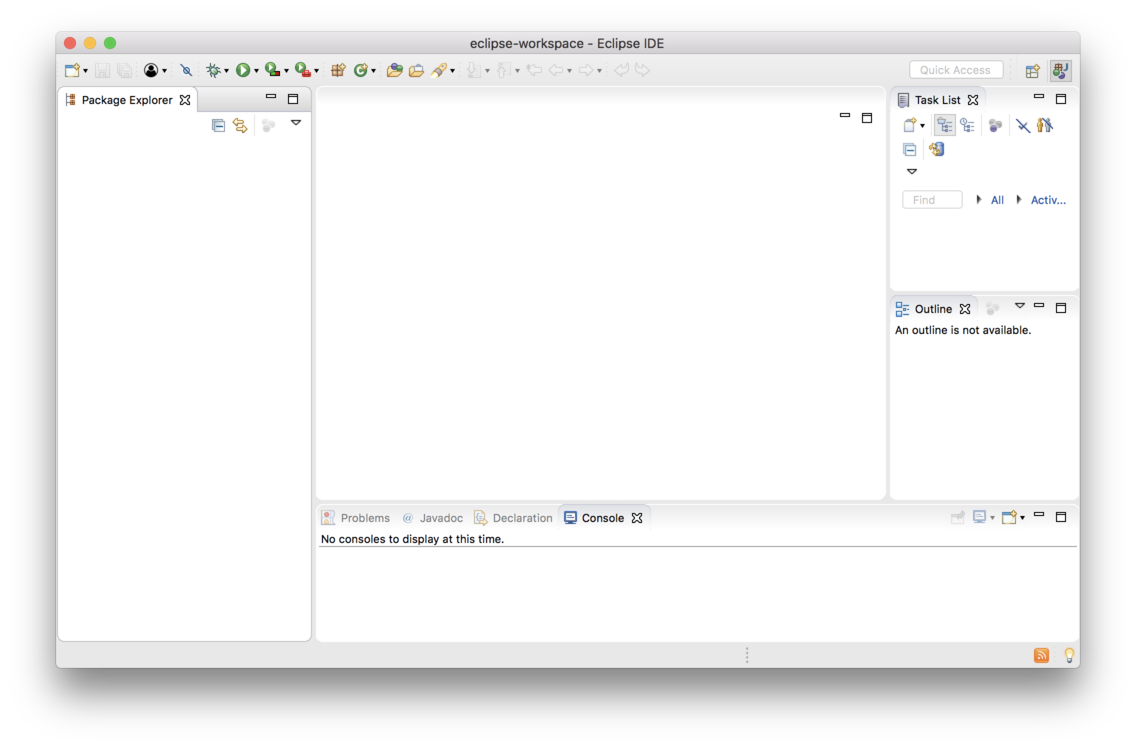 Once you see this screen, choose “File -> Import”.
 - You will then see the Import Wizard.
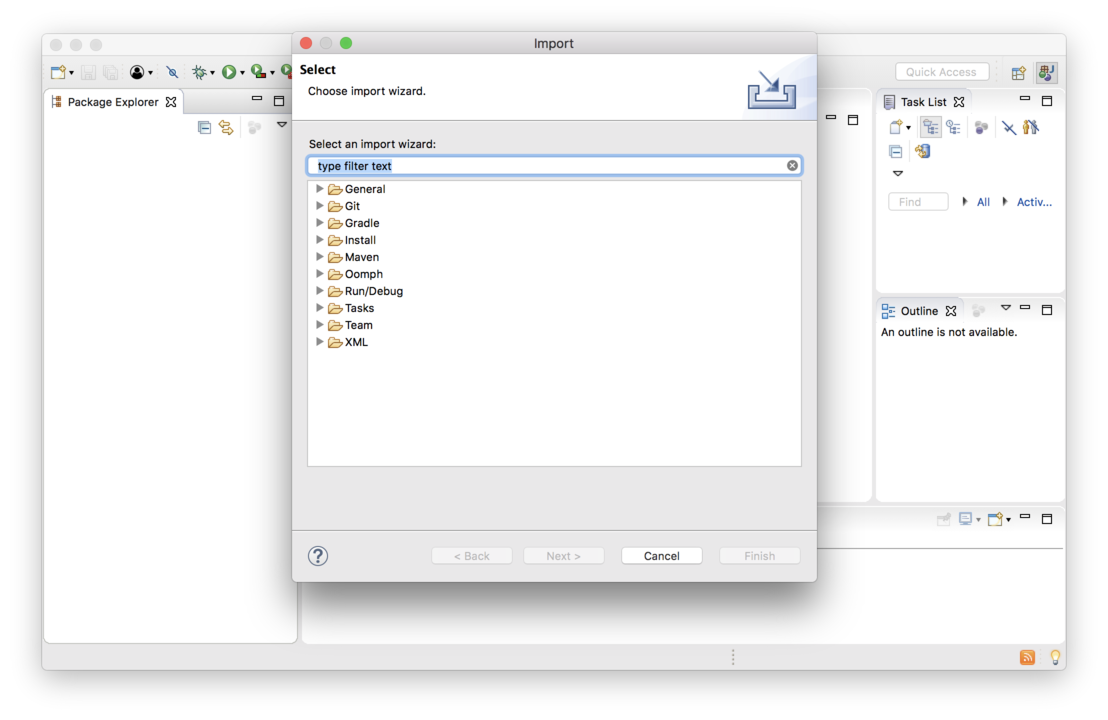
- Choose “General -> Existing Projects into Workspace”
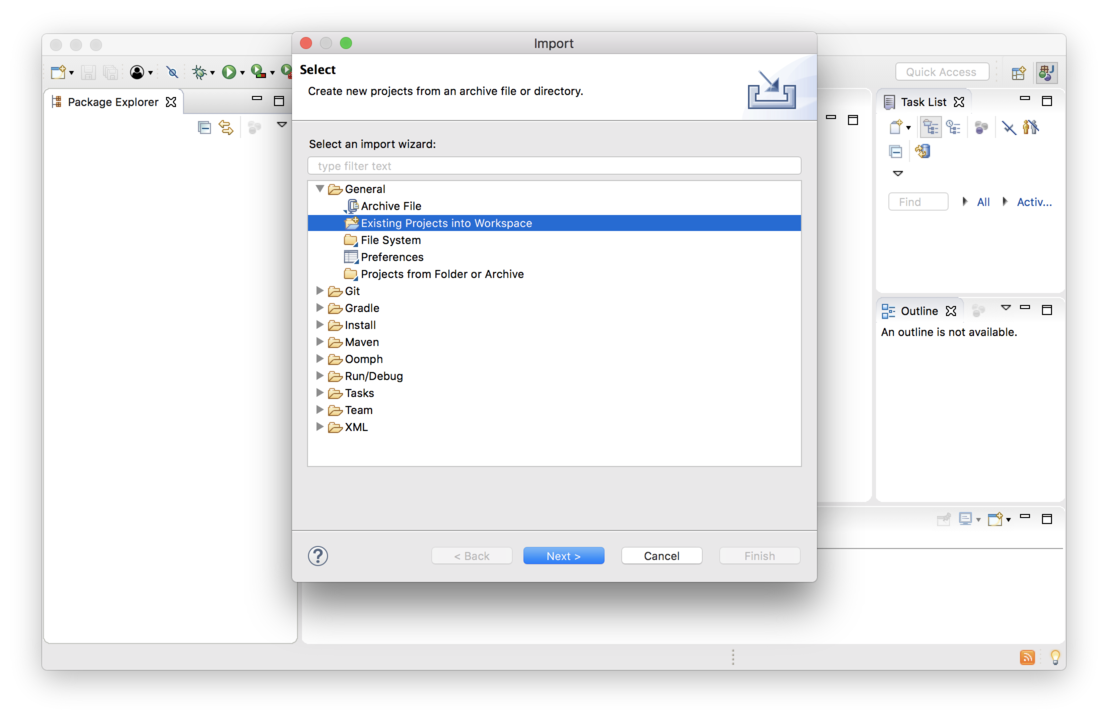 Click “Next”
 - One the following screen, click the radio button next to “Select archive file” and then click “Browse…” and choose the zip file containing the project you want to import.
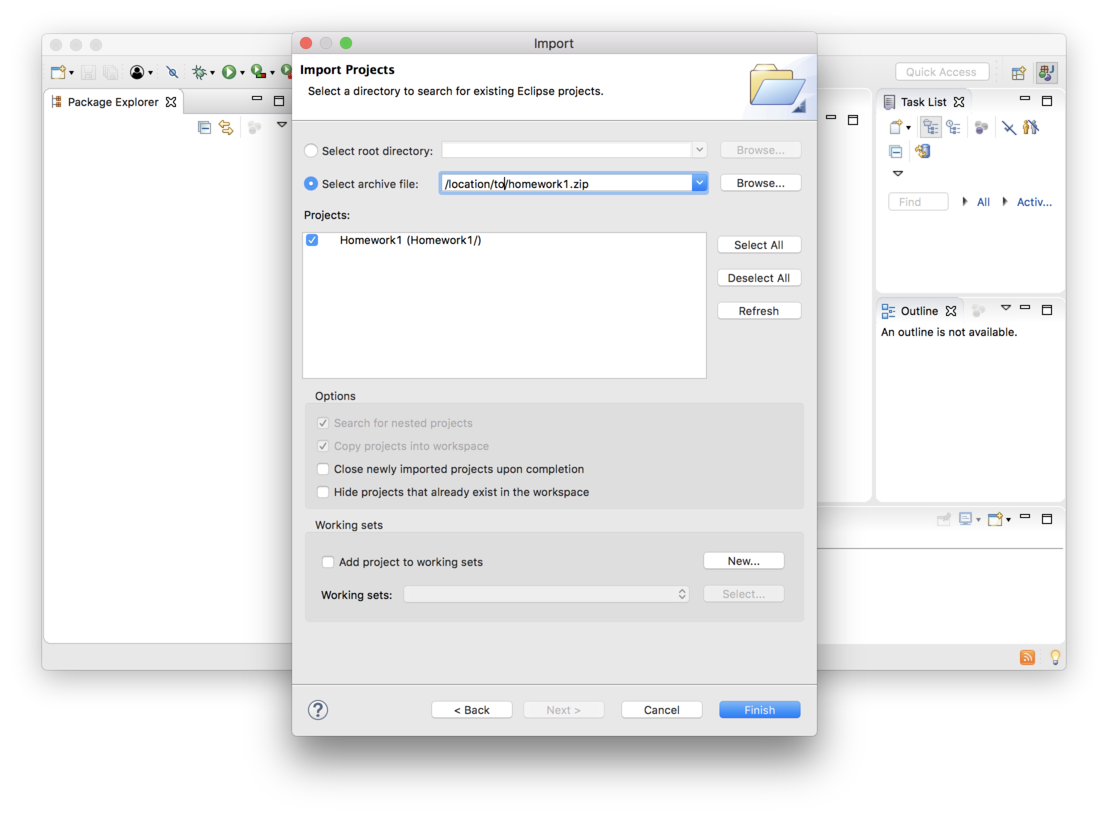 Click “Finish”
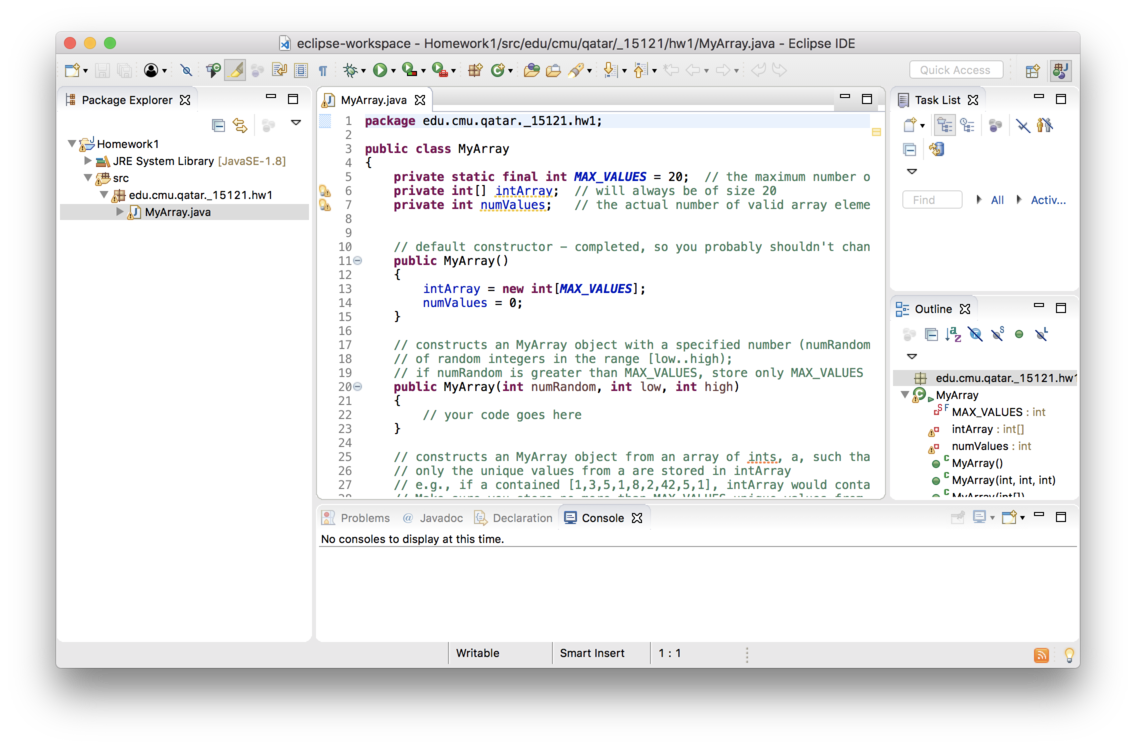
 - The project will now be imported. Click through the src folder and find the java files included with the project.